Adding the leading edge to a wing.
By Don | June 18, 2008
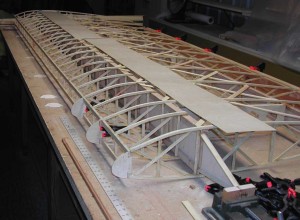
On the Tiger Moth, I’ve had the students do the “gross” or production work, but I do the “fine” or detail type work. So now that we’ve got the basic wing structure done, it’s time to add the rounded leading edge of the wing.
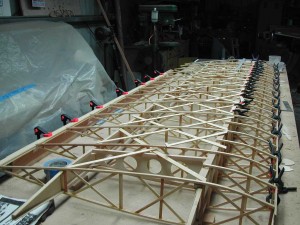
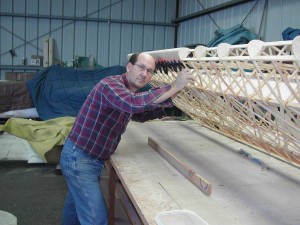
First, I add an upper and lower “false” spar to the leading edge. Each false spar runs the full length of the wing and needs to be straight. I’ve epoxy’d the false spars to the full length ribs and the false ribs (half size ribs).
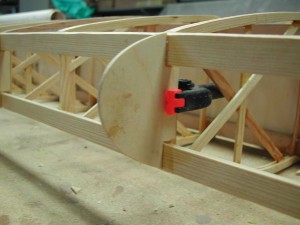
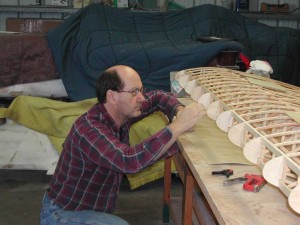
Next comes preparation for the leading edge by adding the nose caps.
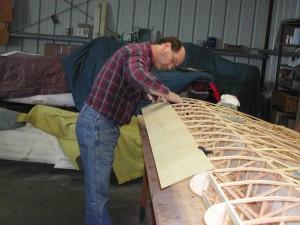
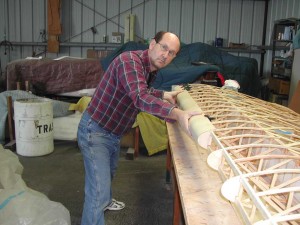
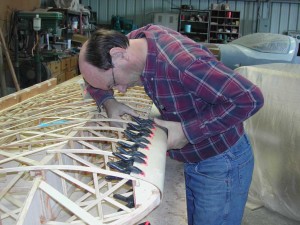
Once the nose caps are installed, the tricky part starts – wrapping 1/16″ Finnish plywood (don’t break or crack!) carefully over the leading edge. I’ve soaked the plywood to help bend but before committing myself, I double check layout.
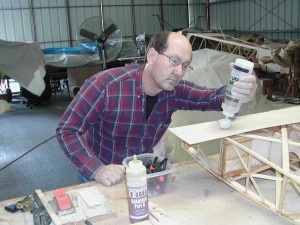
Things look good so far, so now it’s time to mix up the epoxy.
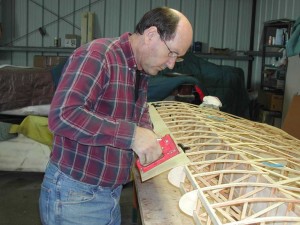
I stapled the plywood to the upper and lower false spars prior to clamping. After the epoxy has set (the next time I come out to the airport!) I pull all the staples and sand/finish the tiny holes.
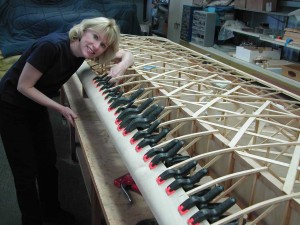
I’m moving smartly, but carefully, along because the epoxy starts to harden up. Again, you can’t have too many clamps for a job like this!
A lot of the detail work on the wing is solo work, but when I do the leading edge, Leslie also helps with the layout, epoxy and clamping.
There’s still a lot more detail work yet to be done on the wing however!
