Travails of building an airplane – making new parts (again)!
By Don | June 20, 2011
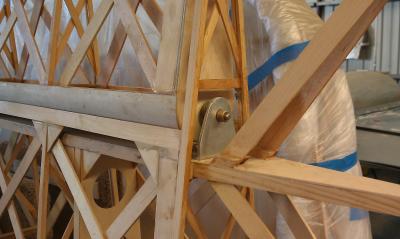 Many of you know I’m (slowly) building a replica of an old Tiger Moth bi-plane. I’ve got the 4 wings pretty much done, but I was sitting in the hangar one day trying to visualize how I would get the nuts onto the aileron brackets once I had the wing and aileron covered in fabric.
You can see tolerances are pretty tight (for a wood airplane) and there’s no easy way to get a wrench into that space above the spar where the bracket sits. The bolts will go UP through the spar and bracket.
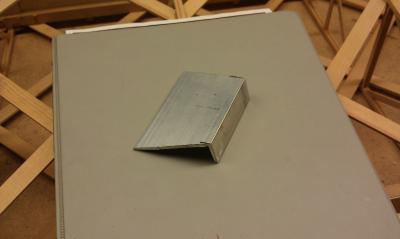
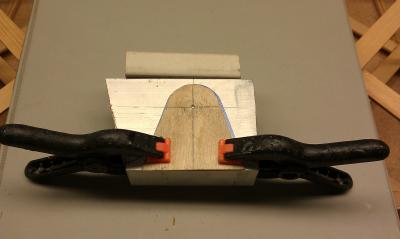
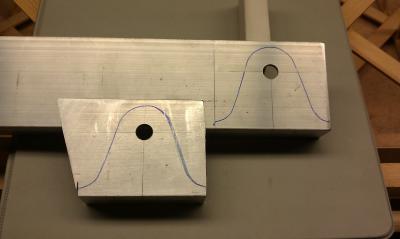
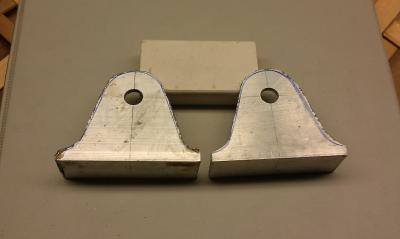
I’m in a hangar with 4 other guys building airplanes and we looked and studied, looked and studied some more, but the ultimate solution was I had to start over and make new brackets. Why? Here’s the reason and pictures of how I built new brackets.
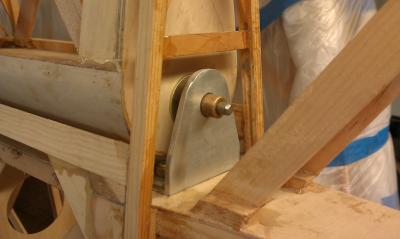
A closer shot of the problem. See that nut back there? I could barely get a wrench in there when everything was open, let alone once everything is covered up.
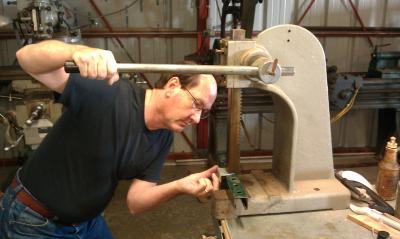
Then I punched the bushing into the hole. The hole is a fraction smaller than the bushing, so a lot of force ensures the bushing is stuck there forever.
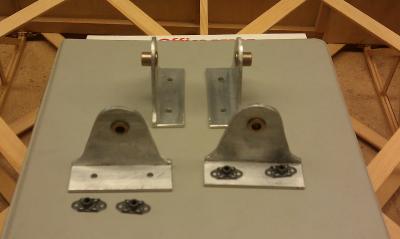
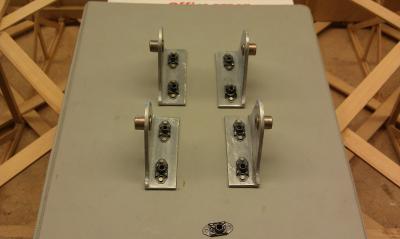
See those “things” on the folder? They’re called nut plates (or anchor plates) and they’re designed to be riveted to something so you can screw a bolt into it without accessing or touching the nut (the nut’s built into the assembly). I’ve already (carefully) drilled out the holes for the 2 bolts, then I’ll drill the smaller holes for the rivets, and install the rivets.
